Run the road pressure method out to mountain bike widths and it keeps producing numbers:
| Tire | Width | 40 kg wheel load |
|---|---|---|
| 2.1 in | 53 mm | 21 psi |
| 2.25 in | 57 mm | 19 psi |
| 2.35 in | 60 mm | 18 psi |
| 2.4 in | 61 mm | 17 psi |
| 2.5 in | 64 mm | 16 psi |
| 2.6 in | 66 mm | 15 psi |
Those figures are in the right neighbourhood, and experienced trail riders will recognise them. But at these widths the 15 % tire drop target has stopped being the thing that decides your pressure, and it is worth understanding what replaced it.
What changes at trail widths
On a road tire, pressure does one job: set how much the casing deflects under load. At 2.4 inches, pressure is doing four jobs at once, and they pull in different directions.
- Tire drop — still there, still real, still roughly what the 15 % tire drop method predicts.
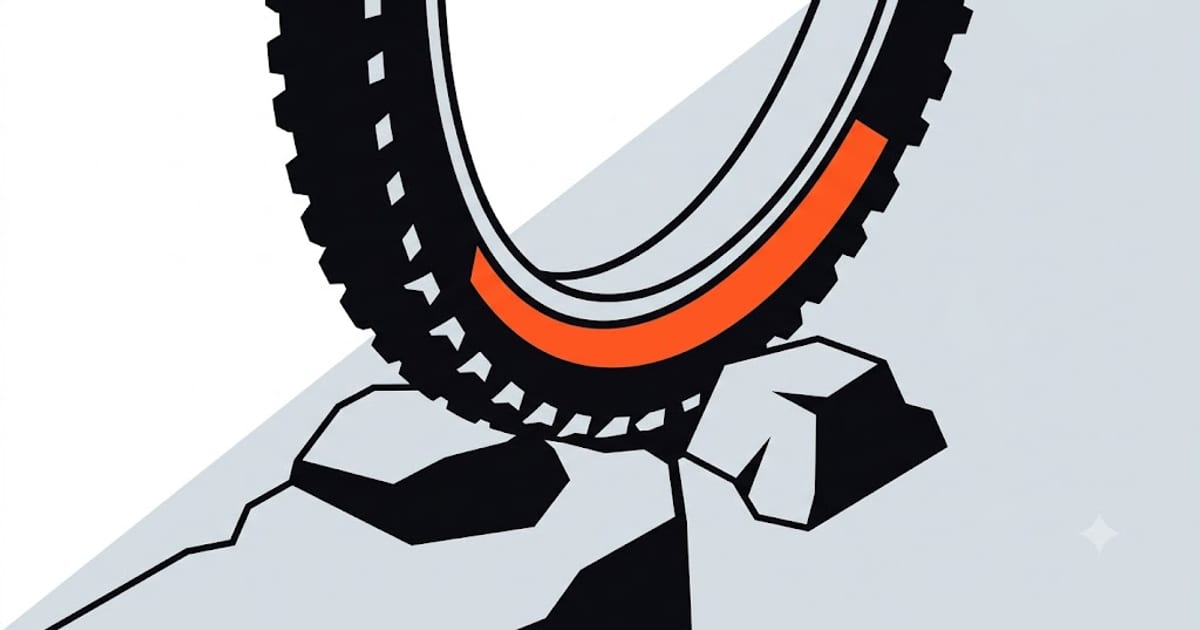
- Rim protection — keeping the rim off the rocks on square-edged hits.
- Cornering support — stopping the casing folding sideways under cornering load so the side knobs stay square to the ground.
- Traction — a softer casing conforms to the surface and holds more grip, which on a climb or in a wet root section matters far more than rolling resistance.
Jobs 1 and 4 want less pressure. Jobs 2 and 3 want more. The road formula only knows about job 1, which is why it is a starting point here rather than an answer.
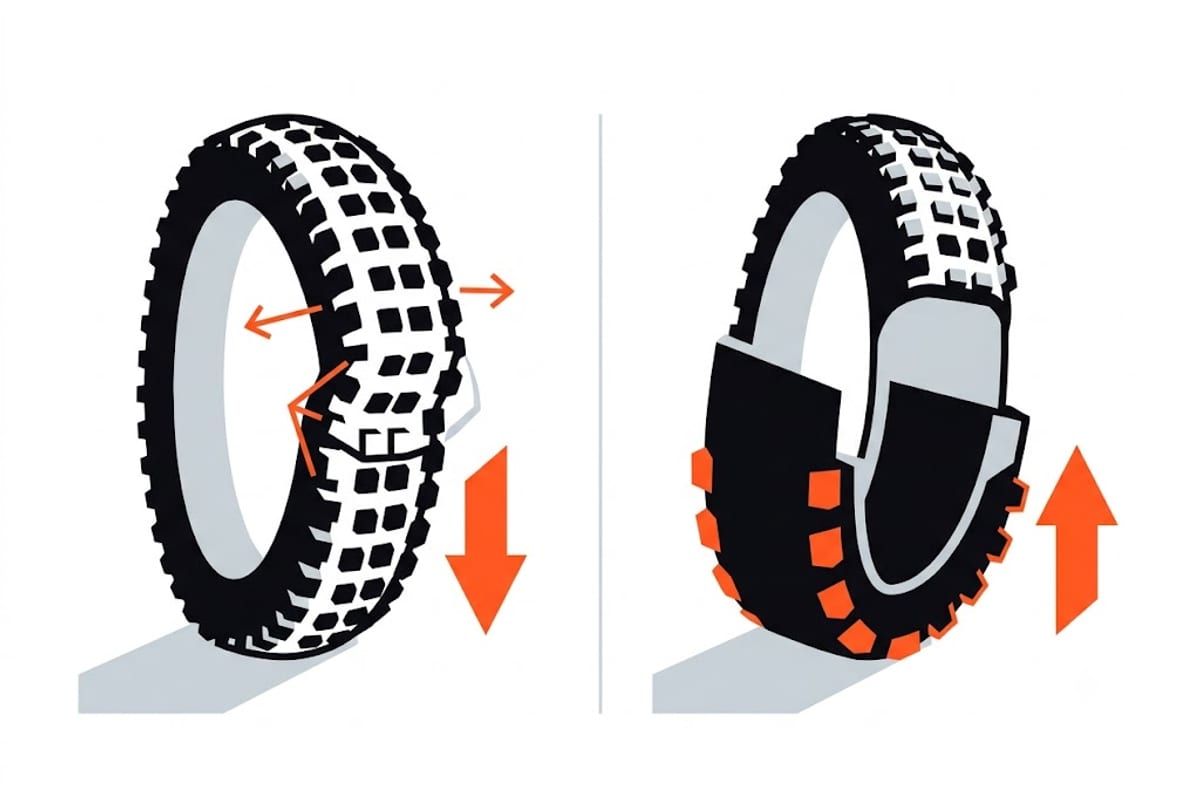
Job 3 is the one that surprises people coming from road riding. A supple casing at low pressure rolls under in a hard corner: the side knobs tip over, the contact patch moves to the shoulder of the tire, and grip vanishes exactly when you need it. That failure is fixed by casing construction or by pressure, and casing is the better fix.
Starting points by weight and width
Total weight means you, the bike, pack, water and tools. Split it 45/55 front to rear as a starting assumption; on a modern trail bike geometry the split is often closer to 40/60 seated and shifts constantly when riding.
| Total weight | 2.25 in | 2.4 in | 2.6 in |
|---|---|---|---|
| 65 kg | 16 / 19 | 14 / 17 | 12 / 15 |
| 75 kg | 18 / 22 | 16 / 20 | 14 / 17 |
| 85 kg | 20 / 25 | 18 / 22 | 16 / 19 |
| 95 kg | 23 / 28 | 20 / 25 | 18 / 22 |
| 105 kg | 25 / 31 | 22 / 27 | 19 / 24 |
Values in psi, tubeless, front / rear. Add 2–3 psi throughout if you are running tubes — see what actually changes with tubeless.
These sit slightly above the raw tire drop calculation, which is deliberate: at trail widths the rim protection and cornering support jobs justify a small premium over the theoretical optimum.
Tune by counting rim strikes
There is no substitute for riding. The measurement is simple and it does not require a gauge on the trail:
- Set the starting pressure from the table.
- Ride a descent you know well, with the roughest section you actually ride.
- Count the impacts where you feel the rim hit through the tire.
Target: about one strike on the rear per descent, and none on the front.
- More than that on the rear — add 2 psi.
- Any strike on the front — add 2 psi. A front wheel folding on a rock is how people get hurt.
- No strikes at all after several rides, and the bike feels harsh or skittery — drop 2 psi.
Change one wheel at a time. Changing both means you cannot tell which one solved it.
Front and rear are genuinely different
More so than on any other kind of bike:
- The rear carries more static weight and takes most of the square-edged impacts, especially when you are not unweighting properly. It wants more pressure and it tolerates a strike.
- The front provides steering and braking traction and is where a failure hurts. It wants less pressure for grip and more pressure for safety, which is why it usually ends up 3–5 psi below the rear rather than the 20 % the road maths suggests.
Most riders end up with a smaller front-to-rear gap than the arithmetic predicts, because they are optimising the front for grip and the rear for survival.
When pressure is the wrong lever
Three symptoms that pressure cannot fix:
- Tire folding in corners at a pressure that otherwise feels right. That is casing support. You need a tire with a stiffer sidewall construction, not more air.
- Repeated rim strikes even at pressures that feel harsh. The tire is too small in volume for your weight and terrain. Go wider.
- Losing traction on climbs while the descents feel fine. That is tread pattern and compound, not pressure.
Conditions
- Wet, rooty, muddy — drop 1–2 psi for conformity and grip. The surface is doing less damage to rims than dry rock does.
- Dry, rocky, fast — add 1–2 psi. Square-edged impacts at speed are the main rim risk.
- Bike park or jumps — add 2–4 psi and consider inserts. Hard landings on the rear are the classic rim-destroying case.
Record what works, per bike, per trail type. Pressure that felt obvious in October will be entirely forgotten by April.
FAQ
What tire pressure should I run for trail riding?
For a 75 kg total weight on 2.4 inch tubeless tires, start around 16 psi front and 20 psi rear, then tune by counting rim strikes on a descent you know well.
How do I know if my MTB tire pressure is too low?
You feel the rim hit through the tire on square-edged impacts, or the tire folds sideways in hard corners so grip disappears. The first is a pressure problem; the second is often a casing problem.
Should front and rear MTB pressures be different?
Yes, but by less than the load split suggests. Most riders end up 3–5 psi lower at the front, optimising the front for grip and the rear for impact resistance, rather than the 20 % gap the tire drop maths predicts.
Does rider weight change MTB tire pressure much?
Yes. A 105 kg total runs roughly 8 psi more than a 65 kg total on the same tires. Weight matters, but tire width matters more — going from 2.25 to 2.6 inches drops the requirement by about 25 %.
Do I need different pressure for wet trails?
Slightly lower, by 1–2 psi. Wet roots and mud reward a casing that conforms to the surface, and wet conditions carry less rim-strike risk than dry rock.